Guide | Uploading the Latest Data Collector Installer for Deployment

Nov 11, 2025
 114
114
- First, login to NinjaRMM
- Navigate to Administration
- Navigate to Library
- Navigate to Automation
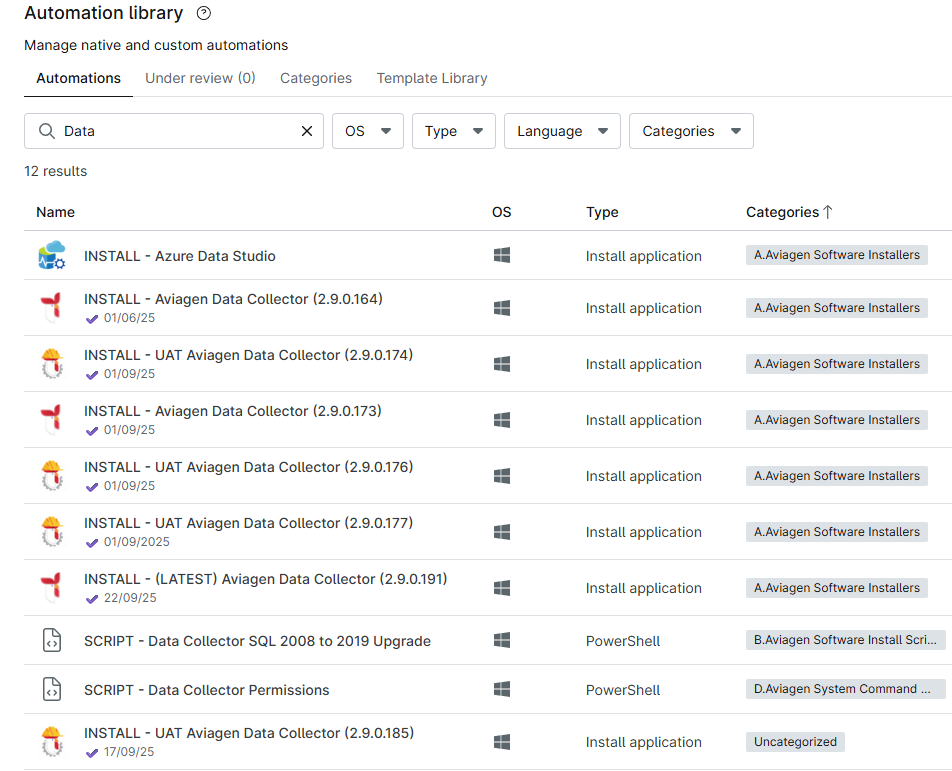
- Search for INSTALL - (LATEST) Aviagen Data Collector ()
- Open a second tab, copying your current tabs URL, you will want this as a quick refrence.
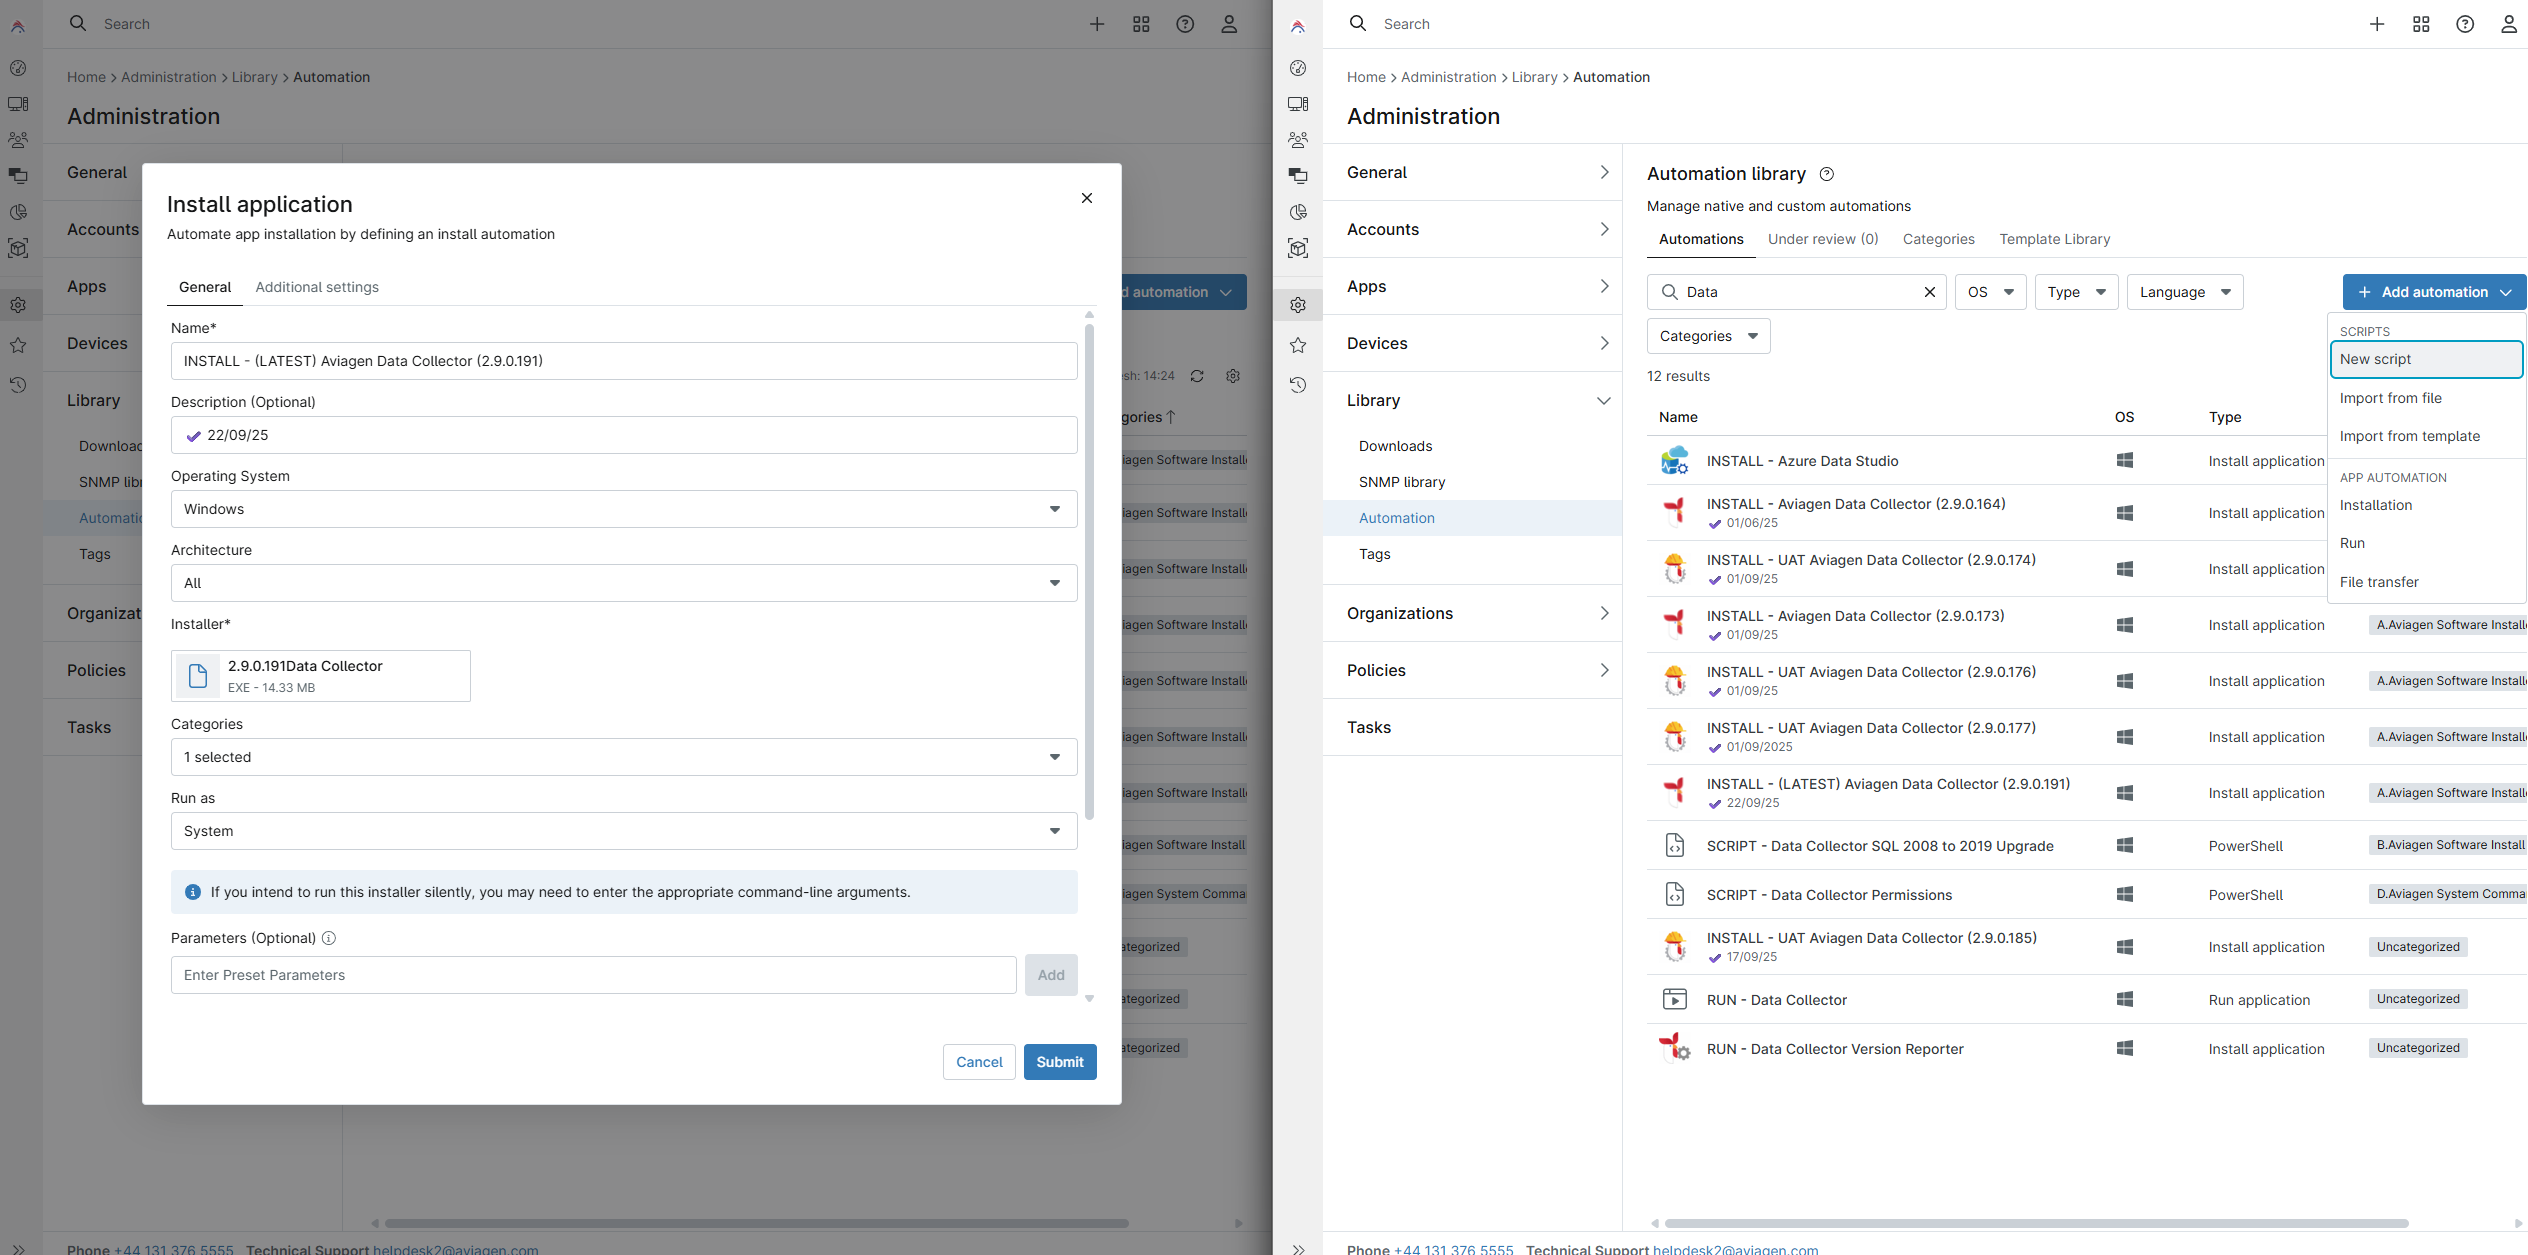
- With both tabs open together, open the latest release on one side, and on your second tab select New Script
- Our aim here is two fold, we want to update the latest release automation, and create a historical entry of the latest release, so that when we next update the latest release we do not loose that previous installer/automation
- Firstly, lets copy our required fields
- Copy in the name, removing the "(Latest)" tag on our new entry and updating the relevant release number
- Copy the description, ensuring the copy states todays date
- Upload your new installer
- Copy the relevant assigned categories
- Moving to Additional Settings, Copy the post script configuration's and any helper files
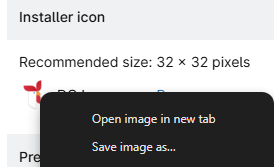
- Finally, Copy the logo if you require a copy, right click on one of the others and download one
- Submit this new automation
- Secondly, lets modify our more important latest installer
- The installer with the "(Latest)" text is important, it is used as the target reference for all installations ran overnight, be careful
- Modify the Name, ensuring you retain the "(Latest)" designation but changing the release number
- Modify the Description to todays date
- Delete the currently applied installer
- Upload the latest installer
- Ensure any agreed changes to helper files or pre/post scripting have been applied
- Ideally, we should now have an updated Latest installer and a new entry for our records.
- Ensure that you have used the correct designations for whether or not this is a UAT or non UAT release, these are a combination of the automation name and the automation Icon, the combination of a text and graphic aid aim to reduce the chance of an accident.